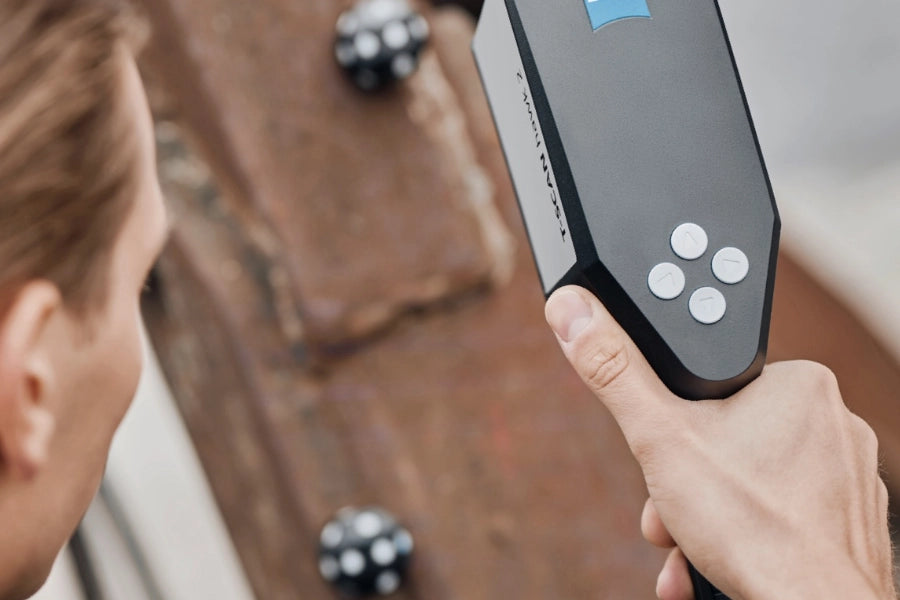
ZEISS T-SCAN hawk 2 Handheld 3D Scanner
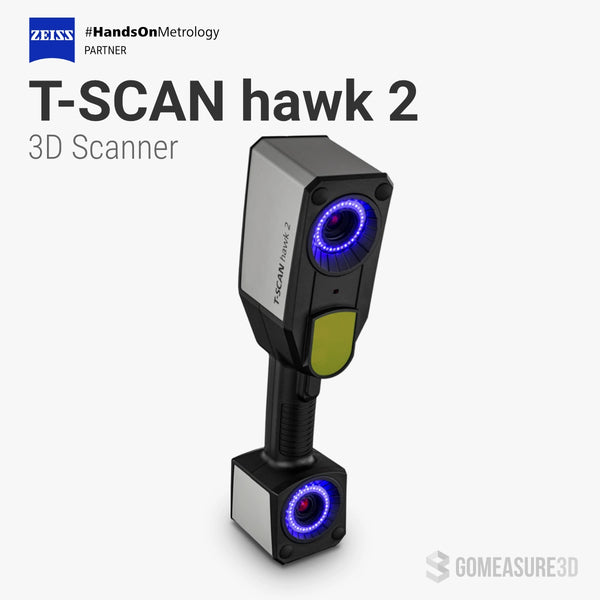
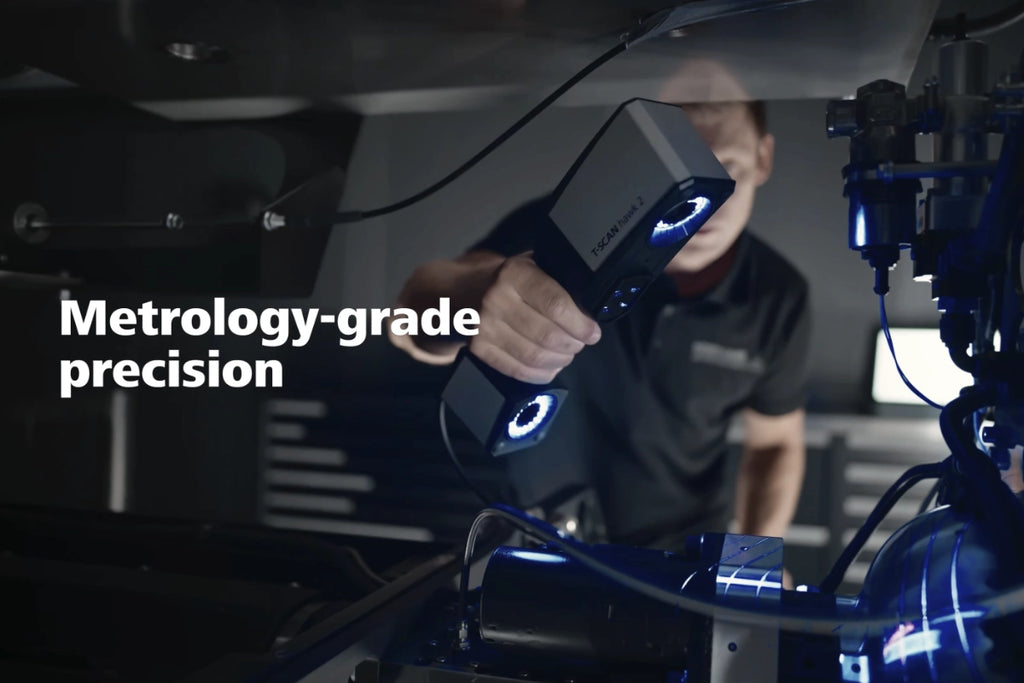
T-SCAN hawk 2 is the next-generation lightweight 3D laser scanner from ZEISS. It offers metrology-grade precision and remarkable ease of use.
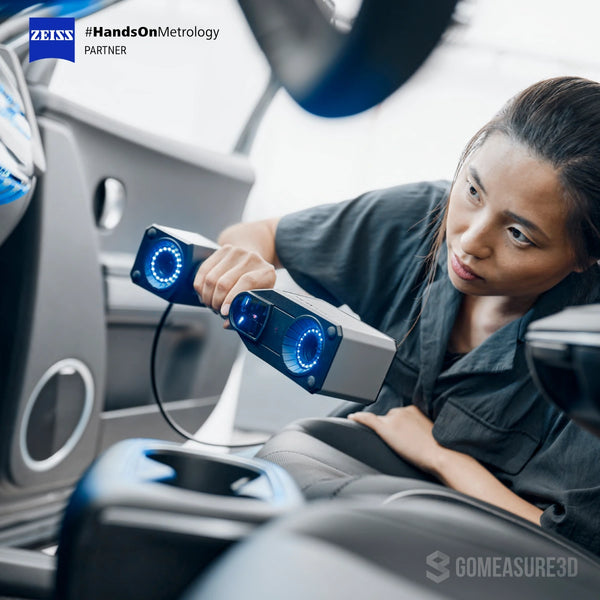
It is a powerful tool for detecting defects, creating digital twins, performing quality control in production areas, reverse engineering, or designing and customizing products for manufacturing. Take it. Make it.
- Acceptance testing is certified to the highest industry standards.
- Easy to travel with for indoor or outdoor scanning.
- Designed and manufactured in Germany with superior quality.
|
🗓 Instantly Book a Web Demo With Us
We can give you a personalized experience without ever leaving your desk. Demo time will be confirmed immediately after you submit your request. Book using our calendar.
|
Technical Specifications
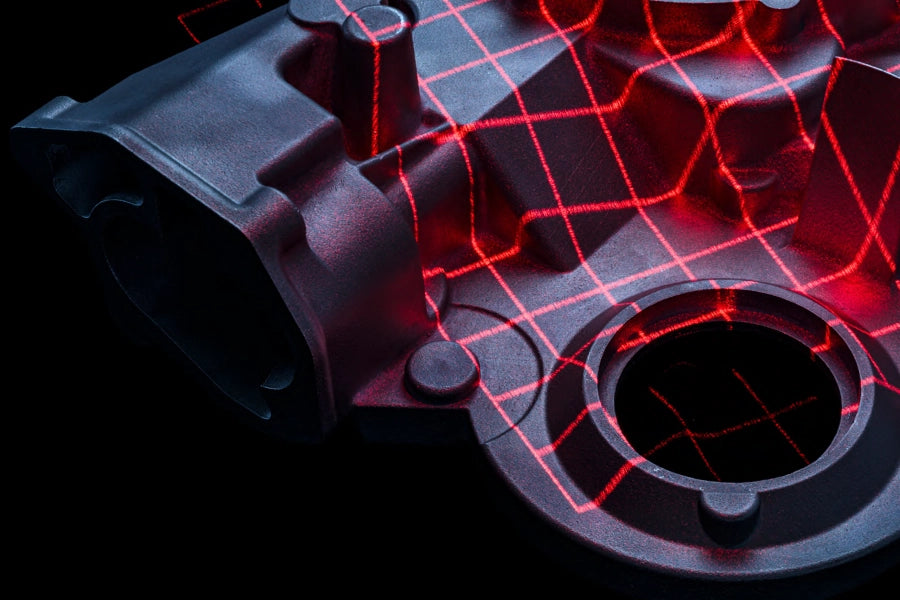
- High-speed scanning: Included (multiple blue laser crosses)
- Deep pockets: Included (single blue laser line)
- Flexible depth of field: Included (on-object distance radar)
- Detailed scan: Included
- One-shot sensor calibration: Included (Hyperscale)
- Large parts: Included (Satellite mode, no coded markers required)
- Carbon-fibre lengths standards*: Certified (DAkks / ILAC)
- Volumetric accuracy**: 0.02 mm + 0.015 mm/m
- Laser class (IEC 60825-1:2014): Class 2 (eye-safe)
- Weight: < 1kg
- Cable: 10m (ultra-light)
- Software: ZEISS INSPECT
- Full remote workflow: Supported
* D-K-21312-01-00 according to DIN EN ISO/IEC 17025:2018
** Acceptance Test based on ISO 10360
Developed and made by ZEISS. Made in Germany. Made for you.
What is T-SCAN hawk 2?
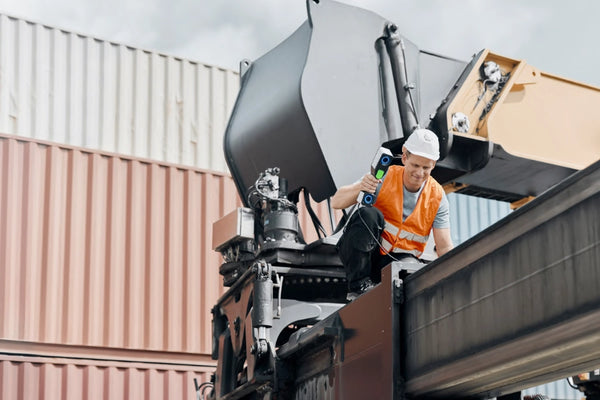
The ZEISS T-SCAN hawk 2 is a portable and reliable tool for capturing data with metrology-grade precision wherever needed—whether in quality control, reverse engineering, maintenance, repair, or overhaul.
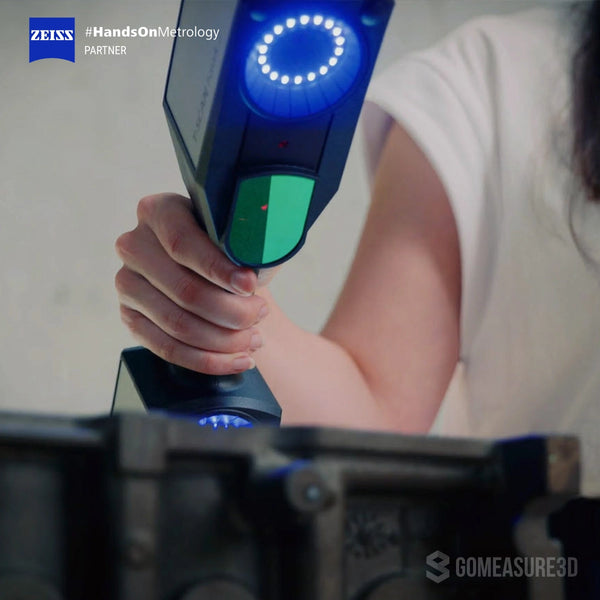
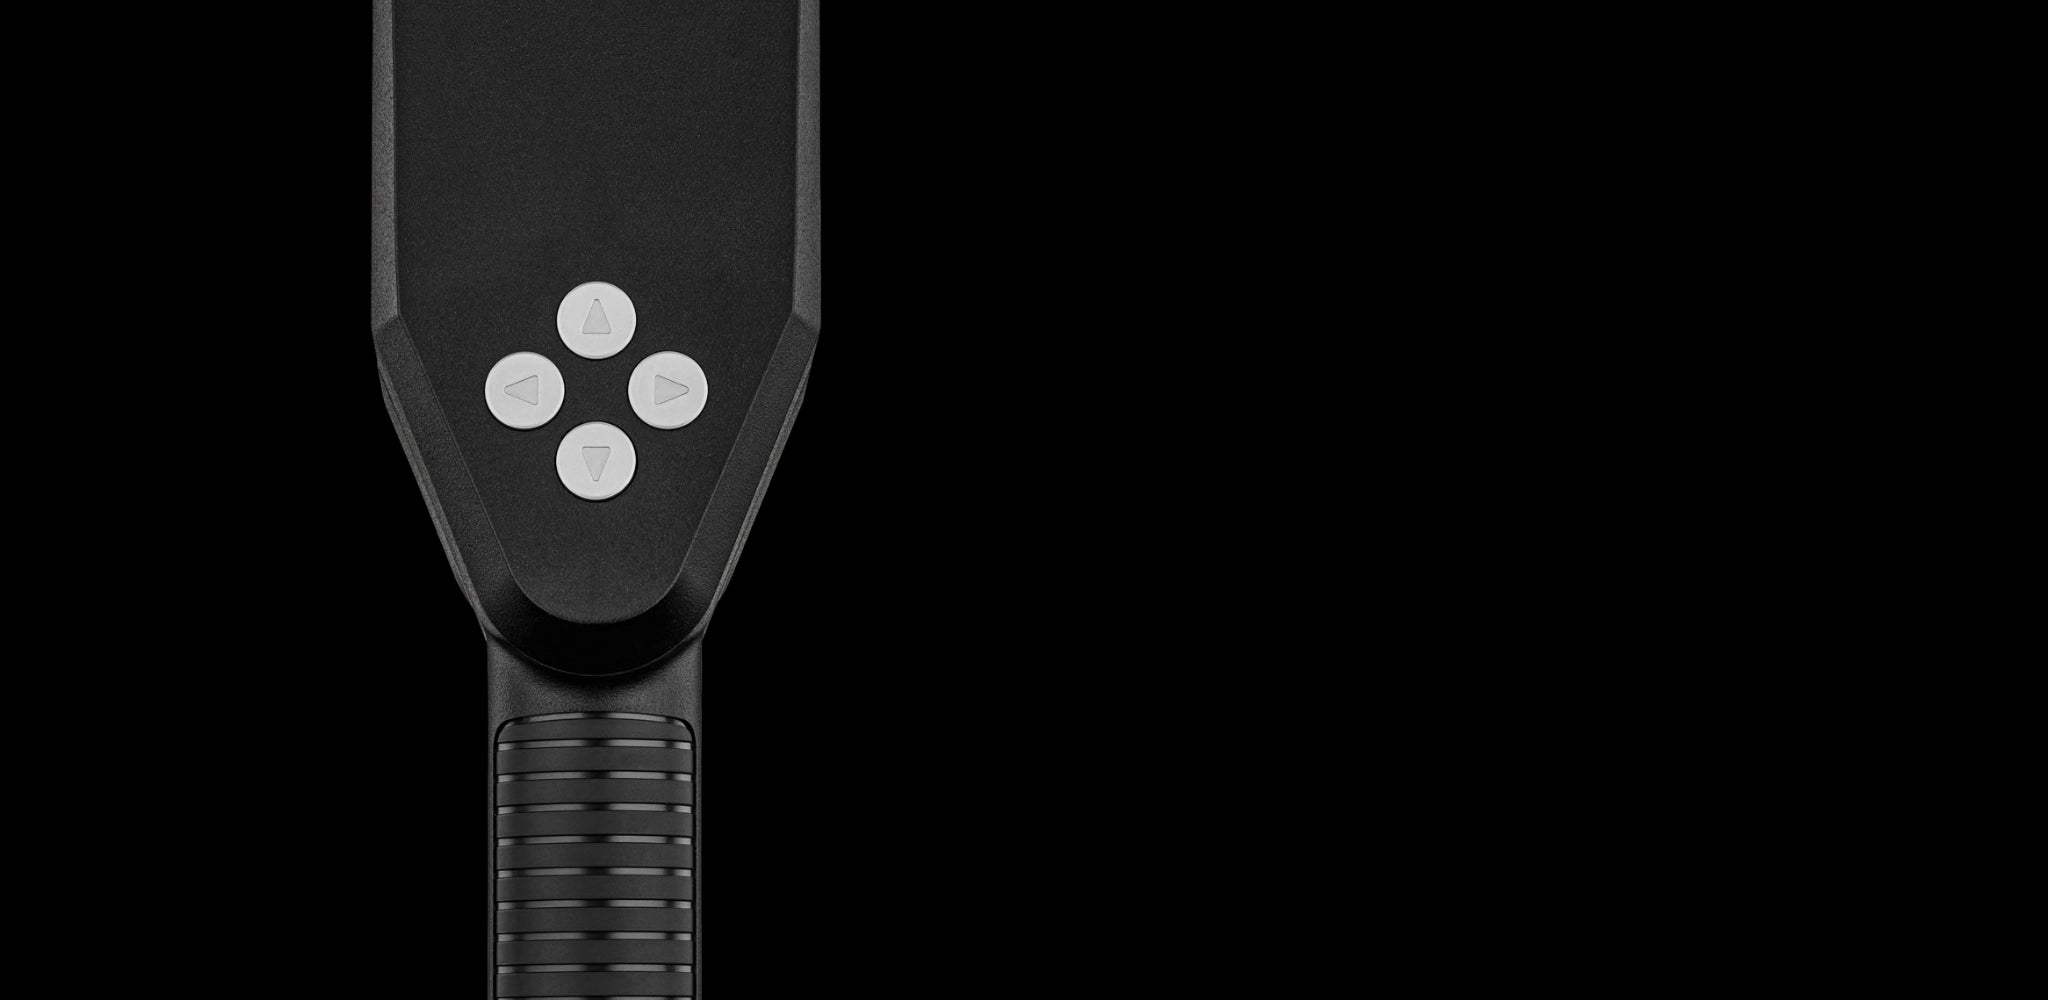
The 3D laser scanner offers simple and user-friendly guidance. Very intuitive to operate, it easily adapts to hand movements and features a workflow assistant, as well as the ability to start and navigate the workflow directly.
Why Choose T-SCAN hawk 2?

Capturing data Wherever You Need It

Controlling Quality Where It Matters
Made For Maintenance
T-SCAN hawk 2 Highlights
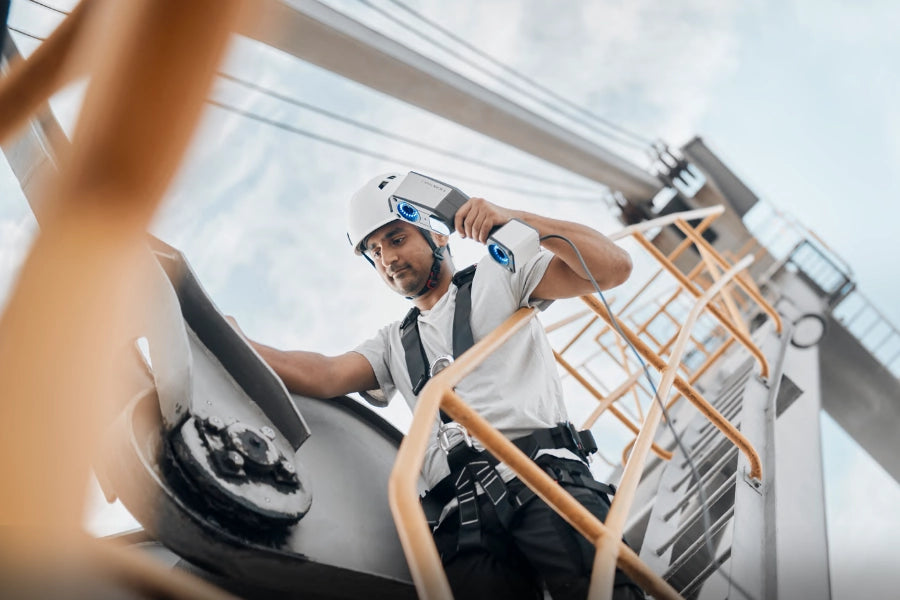
Adapts to Your Workflow
The flow is yours. T-SCAN hawk 2 is intuitive to operate and adapts easily to the movement of your hand.
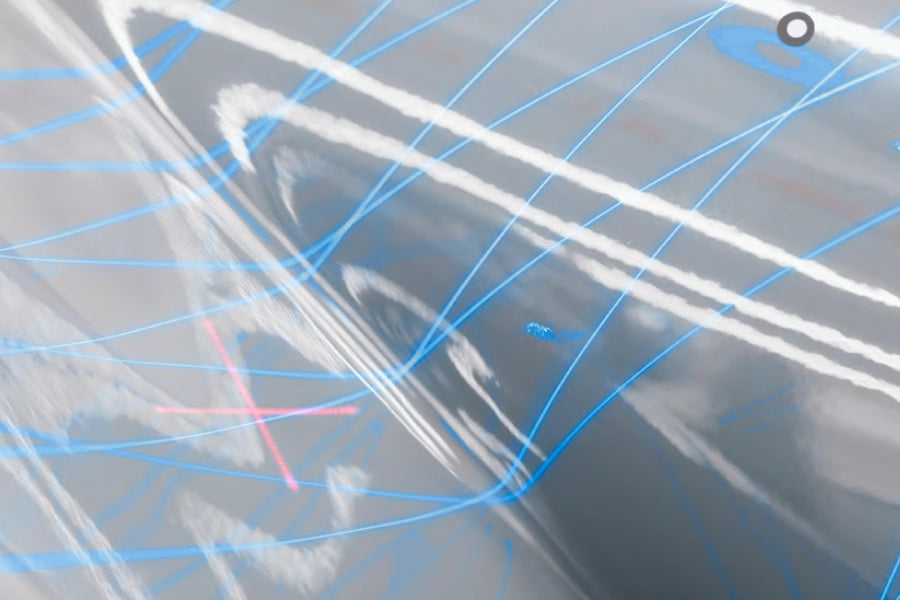
Your Perfect Working Distance
Control your working distance with a new projection mode–a red laser marker helps you to easily adjust for perfect scanning results. This visual aid helps users to keep the perfect working distance while capturing data.
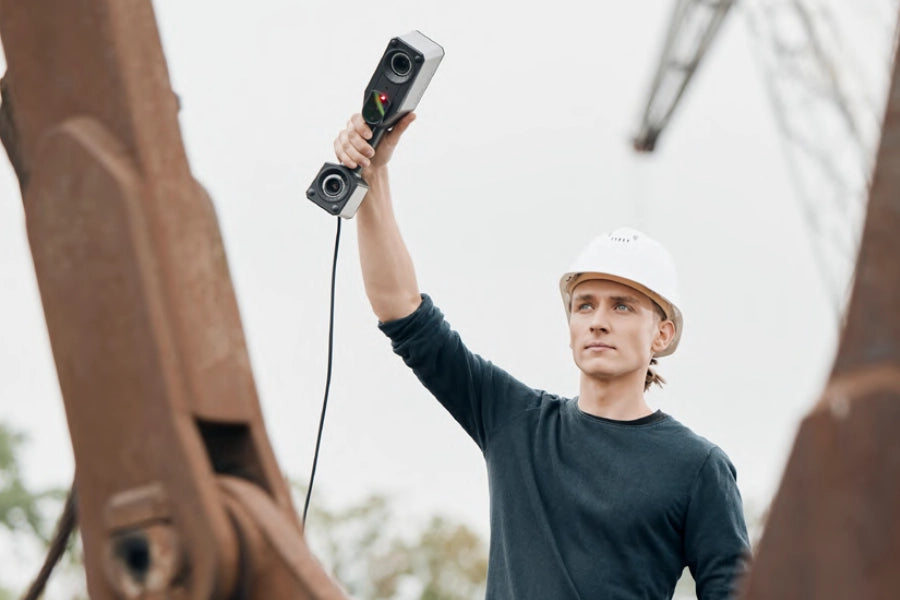
New Satellite Mode
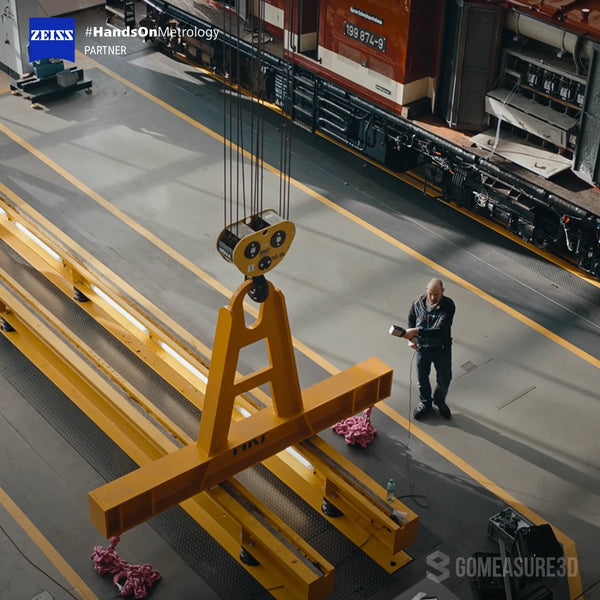
If users like to go big, ZEISS T-SCAN hawk 2 is also the right tool for them. It’s the first portable laser scanner with the new satellite mode, allowing users to scan objects up to multiple meters. There is no need for the classical built-in photogrammetry with coded markers and no compromise on accuracy.

Switching Task is Easy
T-SCAN hawk 2 features seamless adjustments for resolution and field of view. Whether small parts, fine details, larger objects or deep pockets, confined spaces or hard-to-reach areas, this 3D laser scanner does the job.
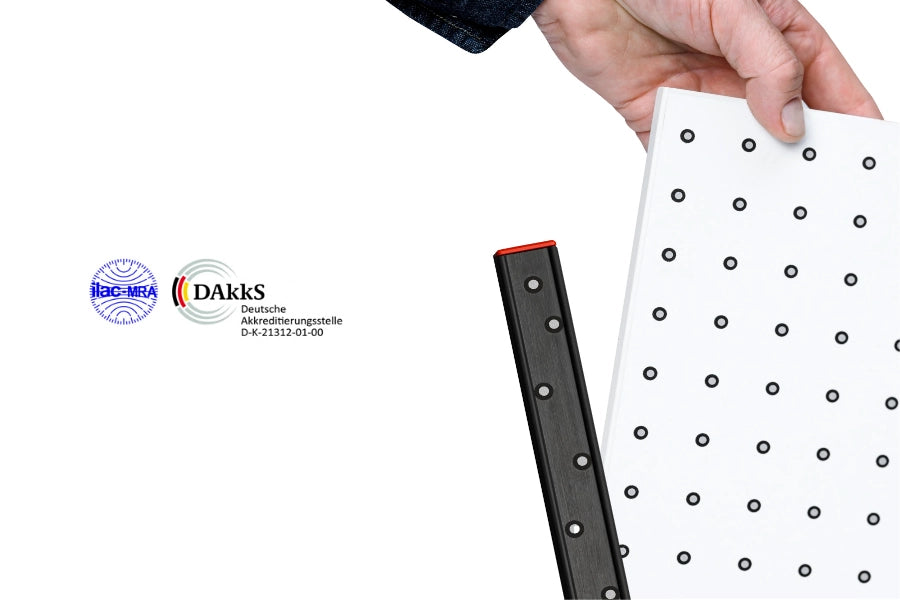
Reference Standards Used For System Qualification
Carl Zeiss GOM Metrology GmbH is an accredited laboratory in the fields of calibration of length and coordinate standards for optical metrology. Each T-SCAN hawk 2 system is delivered with three DAkkS-calibrated, traceable length standards and one DAkkS-calibrated, traceable coordinate standard which are used for system qualification.
ZEISS INSPECT Software for 3D Inspection
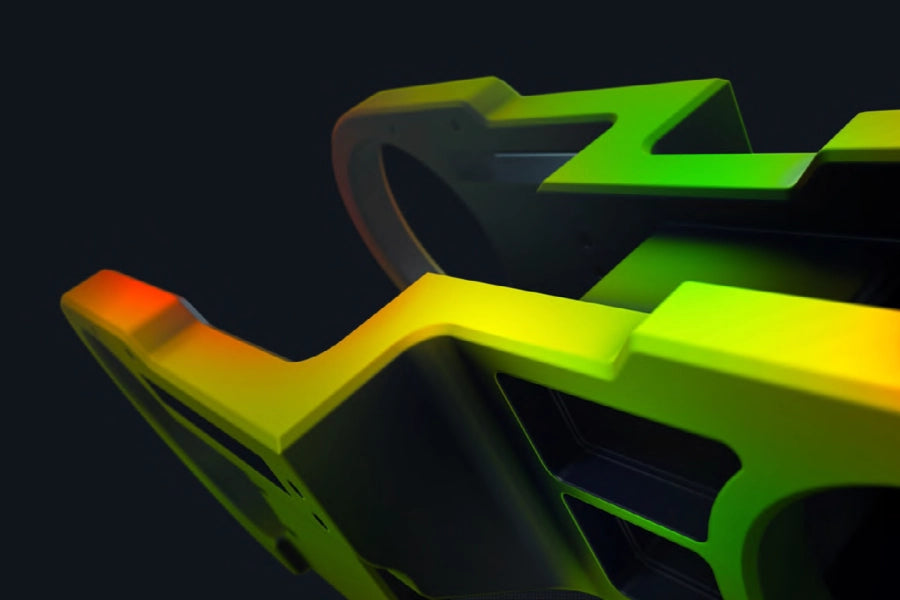
T-SCAN hawk 2 operates with ZEISS INSPECT, the well-established standard in 3D metrology and part of the ZEISS Quality Suite.
Take your 3D data to the next level. ZEISS INSPECT is perfect for detailed evaluations. You get even more powerful functions like GD&T calculations, trend analyses and digital assembly. The full version of our software also holds apps with even more specialized functions for different industries. Save time with the parametric concept which allows you to create project templates for future projects.
Take It. Make It.

Everything at Hand
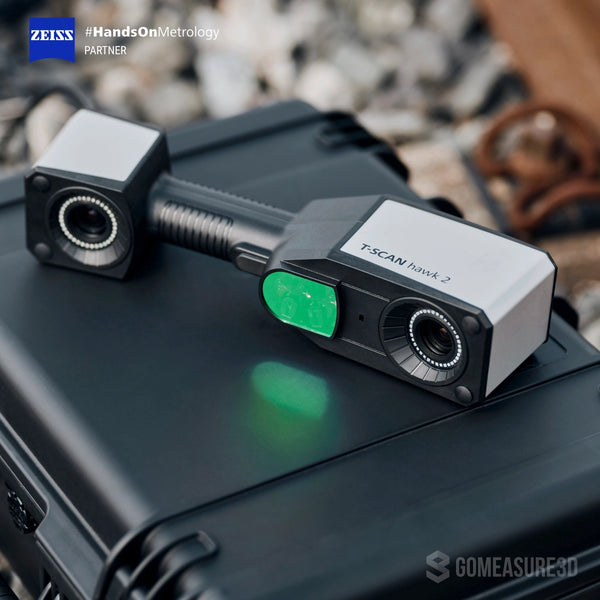
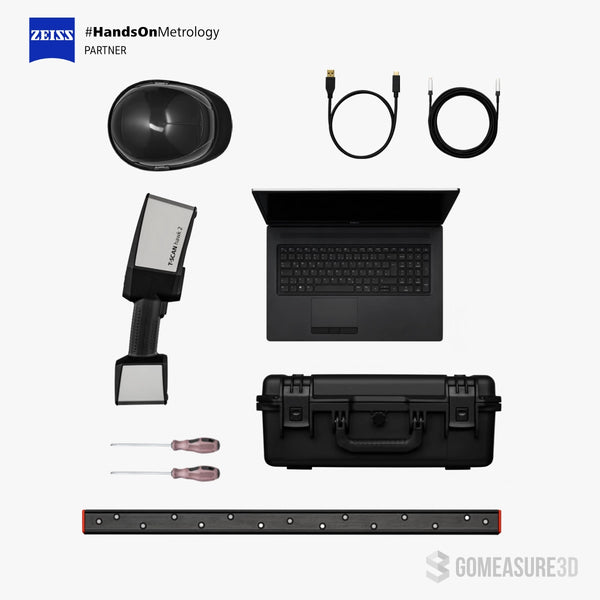
Indoors or outdoors, T-SCAN hawk 2 3D laser scanner travels in just one case, keeping everything at hand. The case contains additional tools like a hyperscale for fast re-calibration or a handy power delivery hub. So, whatever the task, wherever the job: Take it. Make it.
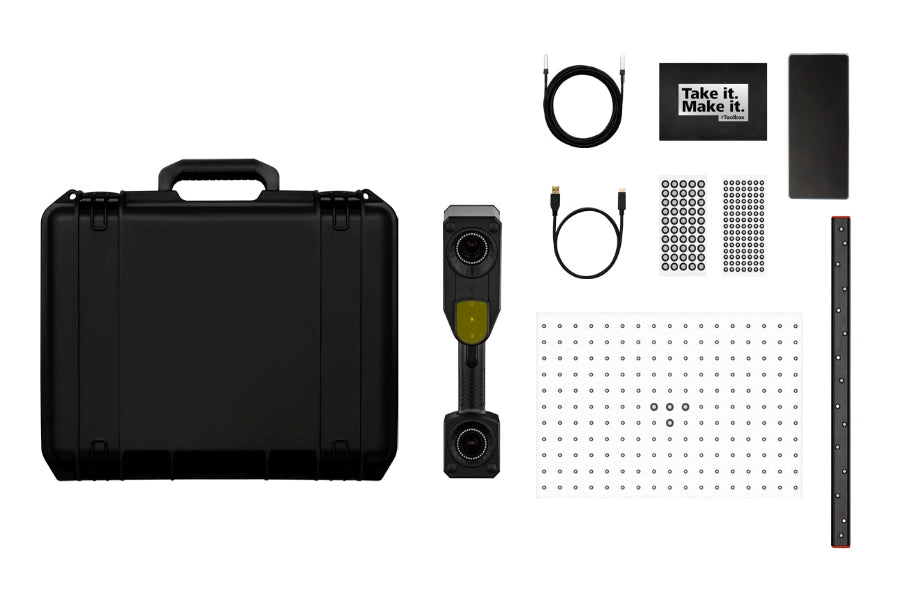
Your Case for Traveling
Everything you need and additional tools.
It contains:
- T-SCAN hawk 2
- Calibration panel
- Hyperscale
- Toolbox
- Reference points
- Power delivery hub
3D Scanning for Parts Manufacturing Inspection
Discover how you can reimagine your quality inspection workflow—delivering greater accuracy in significantly less time.
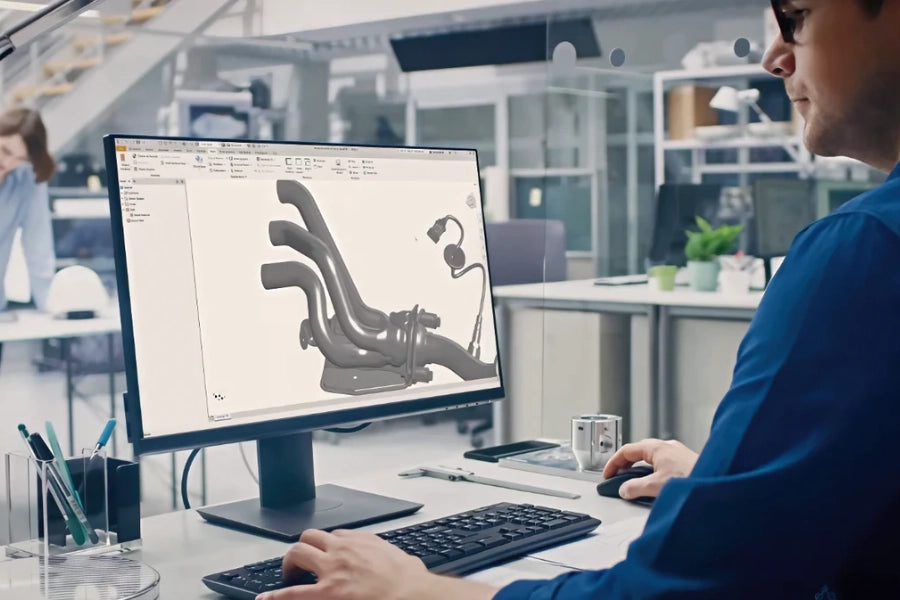
Be Confident in Every Inspection with 3D Digitization
Even the smallest imperfection can compromise performance, lead to costly recalls, or damage your reputation. Conventional inspection methods are slow at taking measurements. They often overlook minute defects that are difficult to catch.
Ditch the complexity to get better and more accurate results. With 3D scanning, you can capture measurements of a physical object with exceptional accuracy! Instantly compare 3D scanned data of a part against your CAD models to detect even the slightest deviations—before they become bigger problems.
Ready to Take on Many Applications
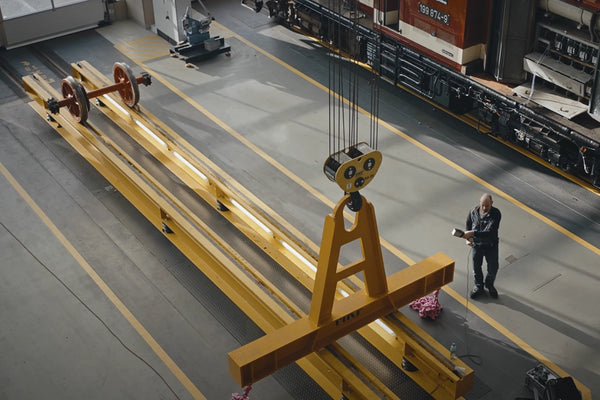
Whether it's detecting defects, performing quality control in production areas, creating digital twins, reverse engineering, designing, or customizing a car, T-SCAN hawk 2 is ready for the task.


Book a Live Web Demo with Us
Hassle-Free Booking
Scheduling a demo with us is fast and easy. Pick a day and time that works for you and press confirm—that’s it. You’re all set! We’ll email you the meeting instructions and see you there. 👋
We’ll walk you through everything you want to know about 3D scanning and show you how this technology can transform the way you work for your metrology needs.
Schedule a DemoFAQ
Common questions to ZEISS T-SCAN hawk 2.
What is the technical specifications of the 3D laser scanner?
Technical Specifcations:
- High-speed scanning: Included (multiple blue laser crosses)
- Deep pockets: Included (single blue laser line)
- Flexible depth of field: Included (on-object distance radar)
- Detailed scan: Included
- One-shot sensor calibration: Included (Hyperscale)
- Large parts: Included (Satellite mode, no coded markers required)
- Carbon-fibre lengths standards*: Certified (DAkks / ILAC)
- Volumetric accuracy**: 0.02 mm + 0.015 mm/m
- Laser class (IEC 60825-1:2014): Class 2 (eye-safe)
- Weight: < 1kg
- Cable: 10m (ultra-light)
- Software: ZEISS INSPECT
- Full remote workflow: Supported
* D-K-21312-01-00 according to DIN EN ISO/IEC 17025:2018
** Acceptance Test based on ISO 10360
Where can I get more information on the ZEISS T-SCAN hawk 2?
For more information, you can also visit our ZEISS T-SCAN hawk 2 product page on our main GoMeasure3D website here.
Can I get a demo for this 3D scanner?
Yes! You can Instantly Book a Web Demo With Us. We can give you a personalized tour without ever leaving your desk. Demo time will be confirmed immediately after you submit your request. Book using our calendar.
Can I get the price for the ZEISS T-SCAN hawk 2?
Yes, most certainly! Please fill out our request a quote form and we'll have our team contact you shortly. Please contact us to see if you qualify for any special discounts or promotions.

