
3D Printed Part Evaluated for Deviations Against its CAD File
Aug 20, 2018
OVERVIEW
This article aims to show readers how to evaluate their 3D printed parts in order to gauge 3D printer performance. 3D scanning technology allows for accurate surface area and volume analysis of a given part. Through software, the scanned part can be checked for deviations from the original .stl CAD file.
STEPS
- Print desired part from .stl CAD file on a 3D printer
- Scan printed part to acquire point cloud data about its geometry
- Use a deviation tool to directly compare the scan file and the CAD file
3D Printing
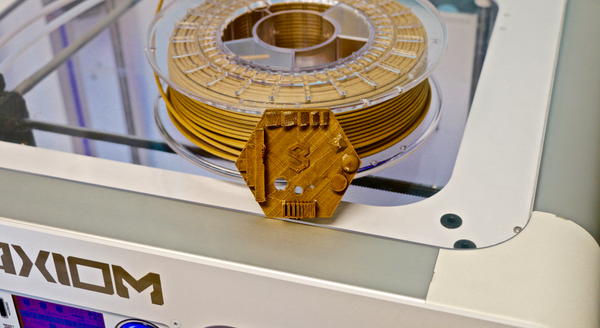
A filament tester plate was used as the demonstration part for this project. It is a 2 inch tall hexagon with various features that are challenging for 3D printers. If the printer fails in one area of the test part it should be visibly obvious and can quickly demonstrate what to improve next time. It is important to be able to accurately analyze the dimensions of this part in order to understand printer behavior. (Link to .stl download if readers want to try it at home?)
The material used for a filament is a woodfill PLA composite from ColorFabb. It has 20% wood shavings mixed into the plastic that provide an aesthetically pleasing look that can be stained and finished like regular wood. It was chosen to make sure the printers at GoMeasure3D can handle all materials users may want to experiment with. This filament prints like regular PLA with a little extra fine tuning.
The printer used in this project was an Airwolf Axiom Dual with a bowden tube drive. Airwolf provides a flavor of Cura 3D printing software that has tailored preferences for each filament type. GoMeasure3D uses Apex instead of any other slicing software in order to maintain consistency with the printer brand. Once the part was configured in Apex, the 3D printer took about a half an hour to print the part.
3D Scanning
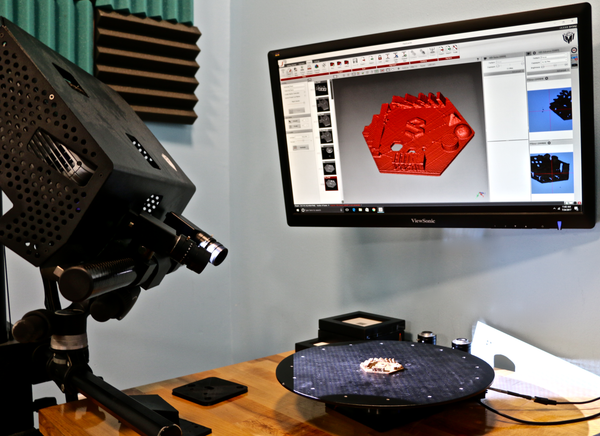
The part was scanned using an HDI Advance system. This setup was able to capture accurate information about the printed part in very high detail. Using the 35mm lenses, I was able to get 14 microns of accuracy across the scan volume.
Flexscan software collected the points of information and constructed a physical representation of my 3D printed part. The file was exported to .stl file format to be used in the comparison software.
Geomagic Control

Geomagic Control allows for deep analysis of 3D objects. In this project I loaded both the original .stl CAD file as well as the .stl scan file in order to compare the two. In the upper left corner of the picture is the original CAD file from Solidworks and the upper right is the scan file from Flexscan.
Once aligned in the same orientation, these 3D objects can be directly compared to each other’s surface area and volume. A 3D comparison tool in Geomagic gives a heat map of differences between the two parts. All red and orange indicate where the printer extruded too much plastic and anywhere that's blue indicates to little.
In general it seems the part may be a bit over extruded. While at the same time, side to side there was an average shrinkage of 0.04%. In the future I could potentially turn down my extrusion rate to perhaps 95% as well as scaling up the print size by 0.05% in order to get a more dimensionally accurate part.
Final Evaluation
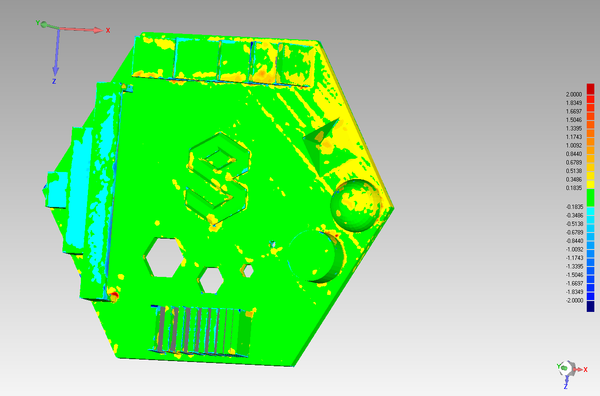
The same tester plate was reprinted with a scaling factor to compensate for the shrinkage observed and a reduced extrusion rate to see if this analysis provided positive change in print quality. The scanning and evaluating process outlined above was repeated. The results show most of the heat map is green, which indicates that the part is very close to the actual measurements in the original .stl CAD file. Edge to edge the shrinkage was almost totally eliminated. Overall the results are promising when it comes to tailoring printer settings. This process can be repeated with any printed shape!
Overall the amount of shrinkage observed for woodfill PLA from ColorFabb has a 0.4% decrease in volume size. GoMeasure3D suggests that if a user was to print with this material, try scaling the part by 1.004 for more accurate and precise prints for the best print quality.

