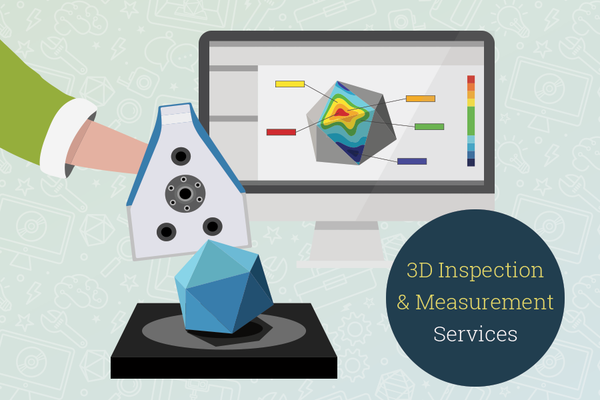
Looking to do some quality inspection using a 3D scanner to collect accurate surface measurements off existing parts?
Why 3D Inspection?
By 3D scanning manufactured parts and comparing the measurements with the CAD model, we can determine whether each part meets acceptable tolerances.
- First article inspection is the thorough analysis of the first part created in production to ensure the manufacturing process is setup correctly.
- In-line inspection refers to the process of automatically passing or failing parts (go/no-go operation) in a factory assembly line by comparing the part’s scan data against specified tolerances, reducing time and eliminating errors associated with manual inspection.
In both types of the inspection process, comprehensive reports can be generated for further analysis with the use of inspection software such as Geomagic Control X.
Got Questions?
Please contact us about your specific requirements and we'll be happy to help you on your project.


